This page will go over how to set up a new page on Learning Arctic Biology, show the different templates and general design rules.
Creating a new page
NB! Never edit a page using “Edit page”, always use “Edit with Elementor”
- In the top taskbar, click +NEW then Page.
- Write in the Title of the page (This can be changed later).
- Click “Save draft” in the top bar, to the right.
- Click the button called “Edit with Elementor“.
- You should now be on a new page using the Elementor Pro editor. There should be a top section with the search bar and title, and a bottom section that has creation date and links the authors. Next and previous buttons will also be here if the page is in a category.
- In the section “Drag widget here”, click the folder icon.
- Go to “My templates” and search for “Page Content Template“.
- Click “Insert” then “Apply“.
- The page is now divided into to columns. Usually main body of text goes to the left, and images to the right.
- Drag the widget “Text Editor” into the left column to add your text.
- Headings can be added the same way, remember to add 15px padding to the bottom of it (Under “Advanced” when selecting the widget element). One can also copy the headings for the section bellow. Note! To copy elements, edit this page with elementor.
- !! Each paragraph should be in its own text widget/element. Same with headers. Don’t put everything into one text block/element/widget. This makes it easier to edit and rearrange elements !!
- Using the section below to copy in the templates/design you need or use the same method as with getting “Page Content Template” to search and add templates.
- The general rule is to keep 30px between elements. This can be achieved using padding or the “Spacer” widget.
- To add a featured images, when in the elementor editor, click the settings / cogwheel bottom left. Then there should be a menu where a feature image can be set. The text that is contain in the “Caption” of the image, will display bellow it.
- To add categories and parent page: Go to the WordPress dashboard, go to pages. Find your new page. Click “Quick edit”. (1) Put the page in a category (eg. if the page should be under the chapter “Species and adaptations”, select that category. (2) Then put it under the right parent page (eg. if this is a page about bryophytes, pick “bryophytes).
- Add page to menus: Go to the dashboard -> appearance-> menu. First add your page to the main navigation menu in its right taxonomic order. The main menu is called “All content menu”. Then select the right submenu for the page (eg. page about bryophytes, select the menu called “bryophytes”). Then add your page there too. You should find your page on the left side under “Add menu items”. Try to search or find it under “View all”.
- Add correct “previous” “next” functionality: The “next / previous” navigation at the bottom of pages, is done with plugins. But for it to work, the pages need to be in the right order (as they are ordered in the menus). To change this order, go to the dashboard -> pages -> reorder. Select the categories you set for the page, and then you will have boxes representing the pages, and you can order them accordingly.
Copy elemets you need from this page
Main heading (H2)
Add 15px top and bottom padding.
Heading is added via the widget called “Heading”. Then under HTML tag change the heading type. Padding in changed in the “Advanced” tab. Unlick the values and type 15 into bottom square.
Smaller heading (H3)
Add 15px bottom padding.
Smallest heading (H4)
Add 15px bottom padding.
Heading (H5)
H5 is used under figures/pictures etc. for descriptions. Usually with a white background. Add 10px padding top + bottom.
Heading (H6)
H6 is uses under figures/pictures etc. for citation. Usually with a white background. Add 10px padding top + bottom.

H5 Figure / Image text
H6 (Credit goes here)
Drop cap can be used on the first paragraph. It’s a ON/OFF switch at the bottom of the text editors “Content” settings.
Try to space box elements 30px apart (Use padding, margin or spacer element).
How about a text box?
Text boxes like this are a good way to break up your text. Especially good if there is a lot of text, and a lack of pictures, figures and so on…

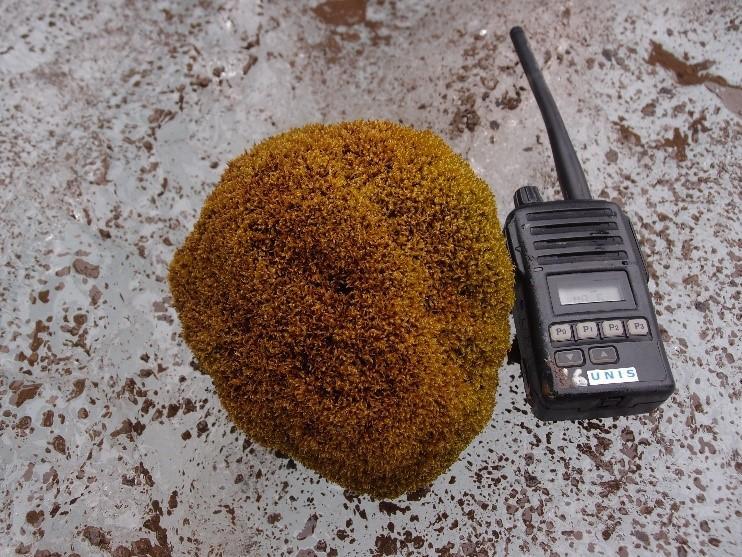
2. Sometimes it can be better to have descriptive text on the side. Especially on longer pictures.
All images can be clicked on to enlarge them.
Tip: Edit image->Style->Change height
and select Object Fit->Cover
This is a way to reduce the footprint of your photo.
Photo: Stephen James Coulson
Person presentation box:
Prof Pete Convey, polar ecologist, BAS.
Click here for a BBC radio programme on life in polar regions and an interview with Prof. Pete Convey (British Antarctic Survey) on polar invertebrates.
A lot of pictures? Put two in one.
Photo: Stephen James Coulson
Duplicate this and you will have 2×2… then 3×2 etc.
Photo: Stephen James Coulson
H5, standalone text box
Text box on the side
Some text.
YouTube Video
Credit / Source
Give descriptions of terms:
Symbiotic relationships
Mutualism :: Both individuals benefit
Parasitism :: One individual benefits and one (the host) is harmed. The beneficiary lives on or within the host.
Commensalism :: One individual benefits, one is left unaffected
INVERTEBRATE
Invertebrate is a general term that covers all animals that lack a backbone and hence includes everything from worms to insects, spiders, and, Crustacea.
Direct reader to articles of a topic
Have two text boxes at the same time
Double text box
Lorem ipsum dolor sit amet, consectetur adipiscing elit. Ut elit tellus, luctus nec ullamcorper mattis, pulvinar dapibus leo.
Double text box
Lorem ipsum dolor sit amet, consectetur adipiscing elit. Ut elit tellus, luctus nec ullamcorper mattis, pulvinar dapibus leo.
Table of contents, good for long pages
Table of Contents
Accordion
Name “Accordion template”.
VFG link button
Drop down references:
- Ref1
- Ref2
- Ref3
NB! Copy the javascript block as well
Parent your page and add page to menu (s)
Go to WordPress Dashboard -> Pages -> Find your page and click “Quick Edit”. In “Parent” select the page you want this page the be under. eg. if you have a page about invertebrate diversity, put it under the invertebrate page.
To add your page to the menu. Go to WordPress Dashboard -> Appearances -> Menus. Then select “Content Menu” (or another menu). Under “Add Menu Items” Search for you page. Select it, and “Add to menu”. It will appear all the way down on the list of menu items, so scroll down and drag it to it’s appropriate place. Click “Save menu”.
Previous and Next navigation
If you want a page to be able to navigate using the previous and next buttons, it needs to be in a category. Do this under pages, all pages and quick edit.
Then under pages, Reorder, one can set the order of the pages in a category.
The previous and next buttons will then automatically display and the bottom of your page.
Colors
Primary Color - "Svalbard brown". Used on elements and url's
#908282
Secondary Color - Used on elements
#54595F
Text Color - Used on text & headings
#323C44
Accent Color - Pure white, used as secondary background color
#FFFFFF
Background color
#F2F2F2
Virtual Field Guide Blue
#1BBACA
AVirtual Field Guide Active Blue
#8DDDE5
Design of Learning Arctic Biology by Simen S. Hjelle